My very first paid job right out of Culinary School was working for a small kitchen store in Saratoga, California called Home Chef. I was mostly a culinary assistant/sometimes instructor, which really means I was the dish bitch. I loved it! People would file in and sit and watch "the class"-it was really more like a show. It was all demonstration cooking with the added benefit of being able to smell the wonderful smells and taste the final dish. I would watch the instructors teach and just swoon. It totally gave me the teaching bug, and I knew this is what I wanted to do for a living. This recipe is what I call my deal breaker meal. I have interviewed with this soup and people either love it or hate it, there has been no middle of the ground. It has morphed from its original recipe to my own version. I find most men hate it... no, really, all the men in my family hate it, but the women in my family love it and wait every year for me to make it by the bucket fulls.
I knew I was taking a huge risk when I auditioned for my current job with it. I knew this recipe backwards and forwards, had cool interjections of cooking skills and techniques to pepper in my presentation... It was a slam dunk! I was prepared and felt like the Jordan of instructors walking into my interview- this job was mine! Then I walked in and saw my panel I almost died... 2 men and one lady... crap! My mind scrambled and I figured I'd kick it during the presentation and wait for the horrified faces once they tried it. I was dead wrong- they all loved it and one of them still talks about that soup I made 2 years ago! So I'm leaving it up to you my faithful followers, make some for home, the office, or a pot luck because it is awesome. It freezes well and the leftovers are just as amazing!
Home Chef's Roasted Squash and Pear Soup
Soup Ingredients
4 pounds butternut squash
2 tablespoons hazelnut oil
3 tablespoons neutral flavored oil (canola, grape seed, avocado)
1 yellow onion, chopped
2 whole pears, peeled, cored and cut into 1 inch pieces
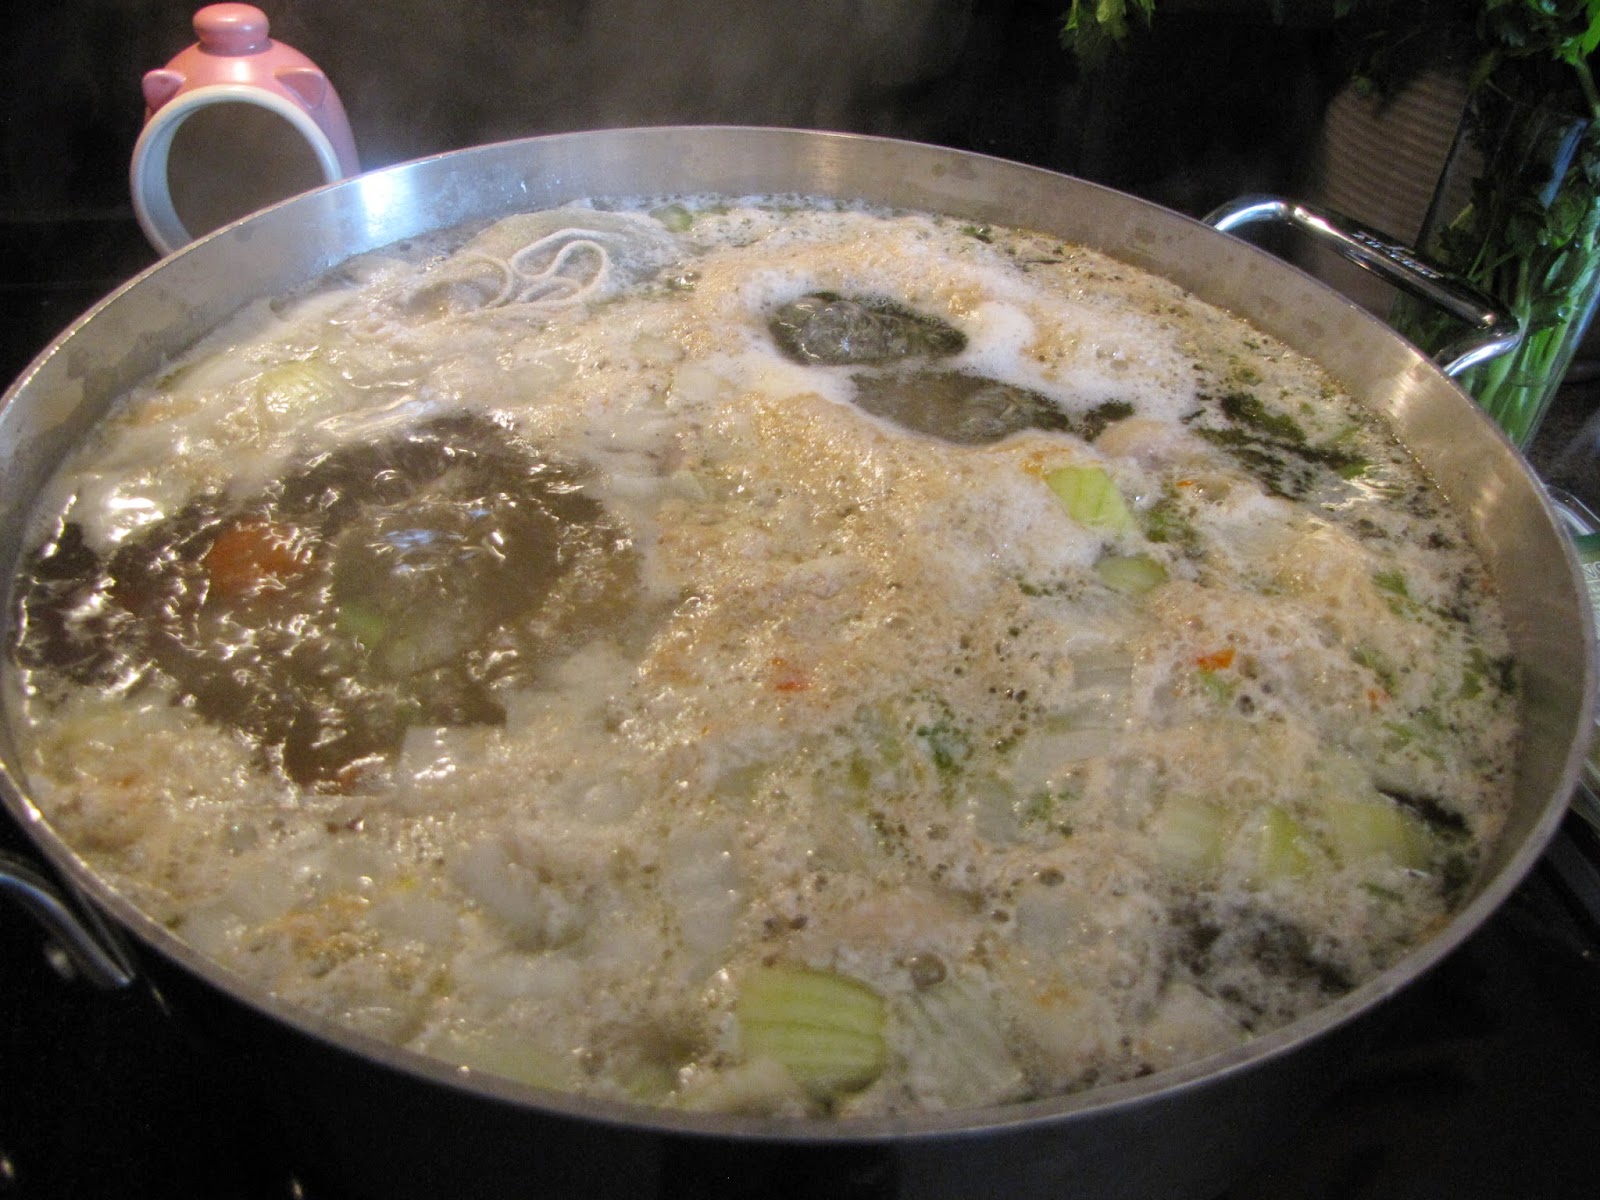
4 cups chicken stock (from
homemade stock post here)
1/4 cup white wine
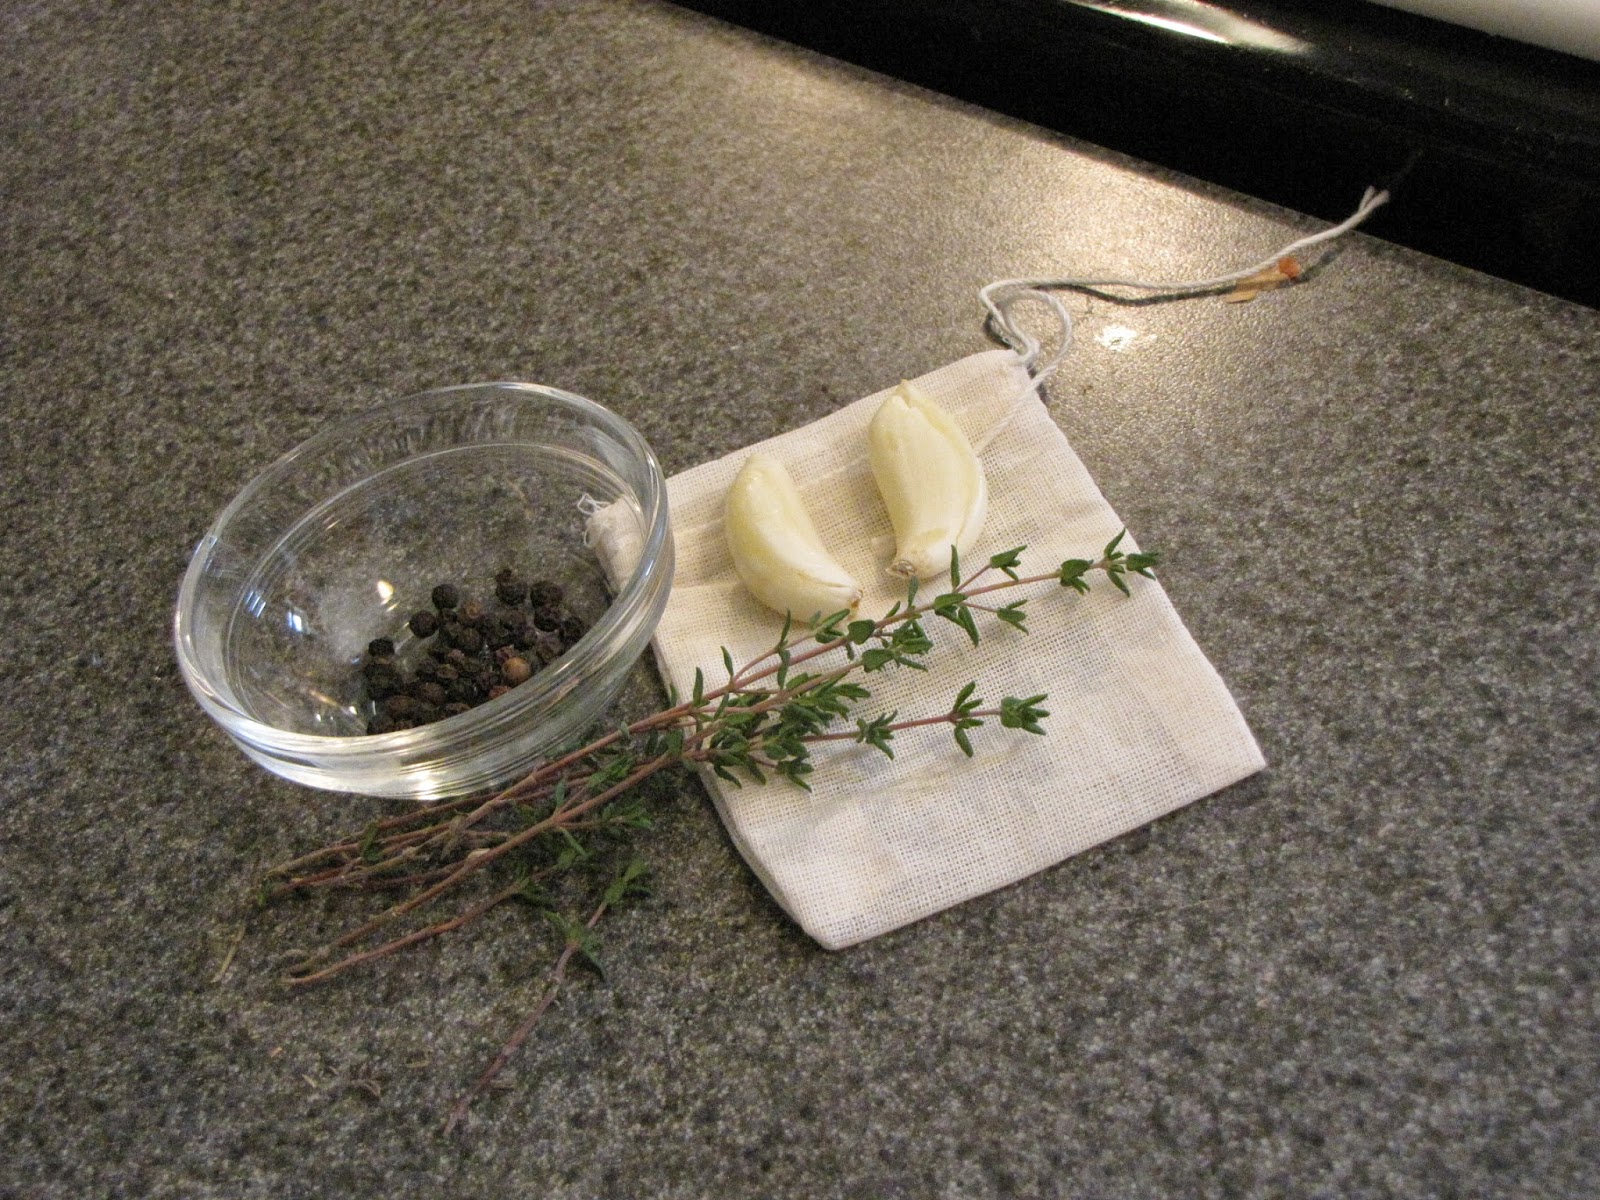
1 bouquet garni
2 teaspoons fine sea salt
1 teaspoon freshly ground black pepper
6 sage leaves
3 ounces Roquefort chees
e or really any blue veined cheese will fly
1/2 crème fraîche or sour cream
2 ounces toasted hazelnuts
homemade croutons to garnish (recipe below, do not use store bought... it will suck, I promise!)
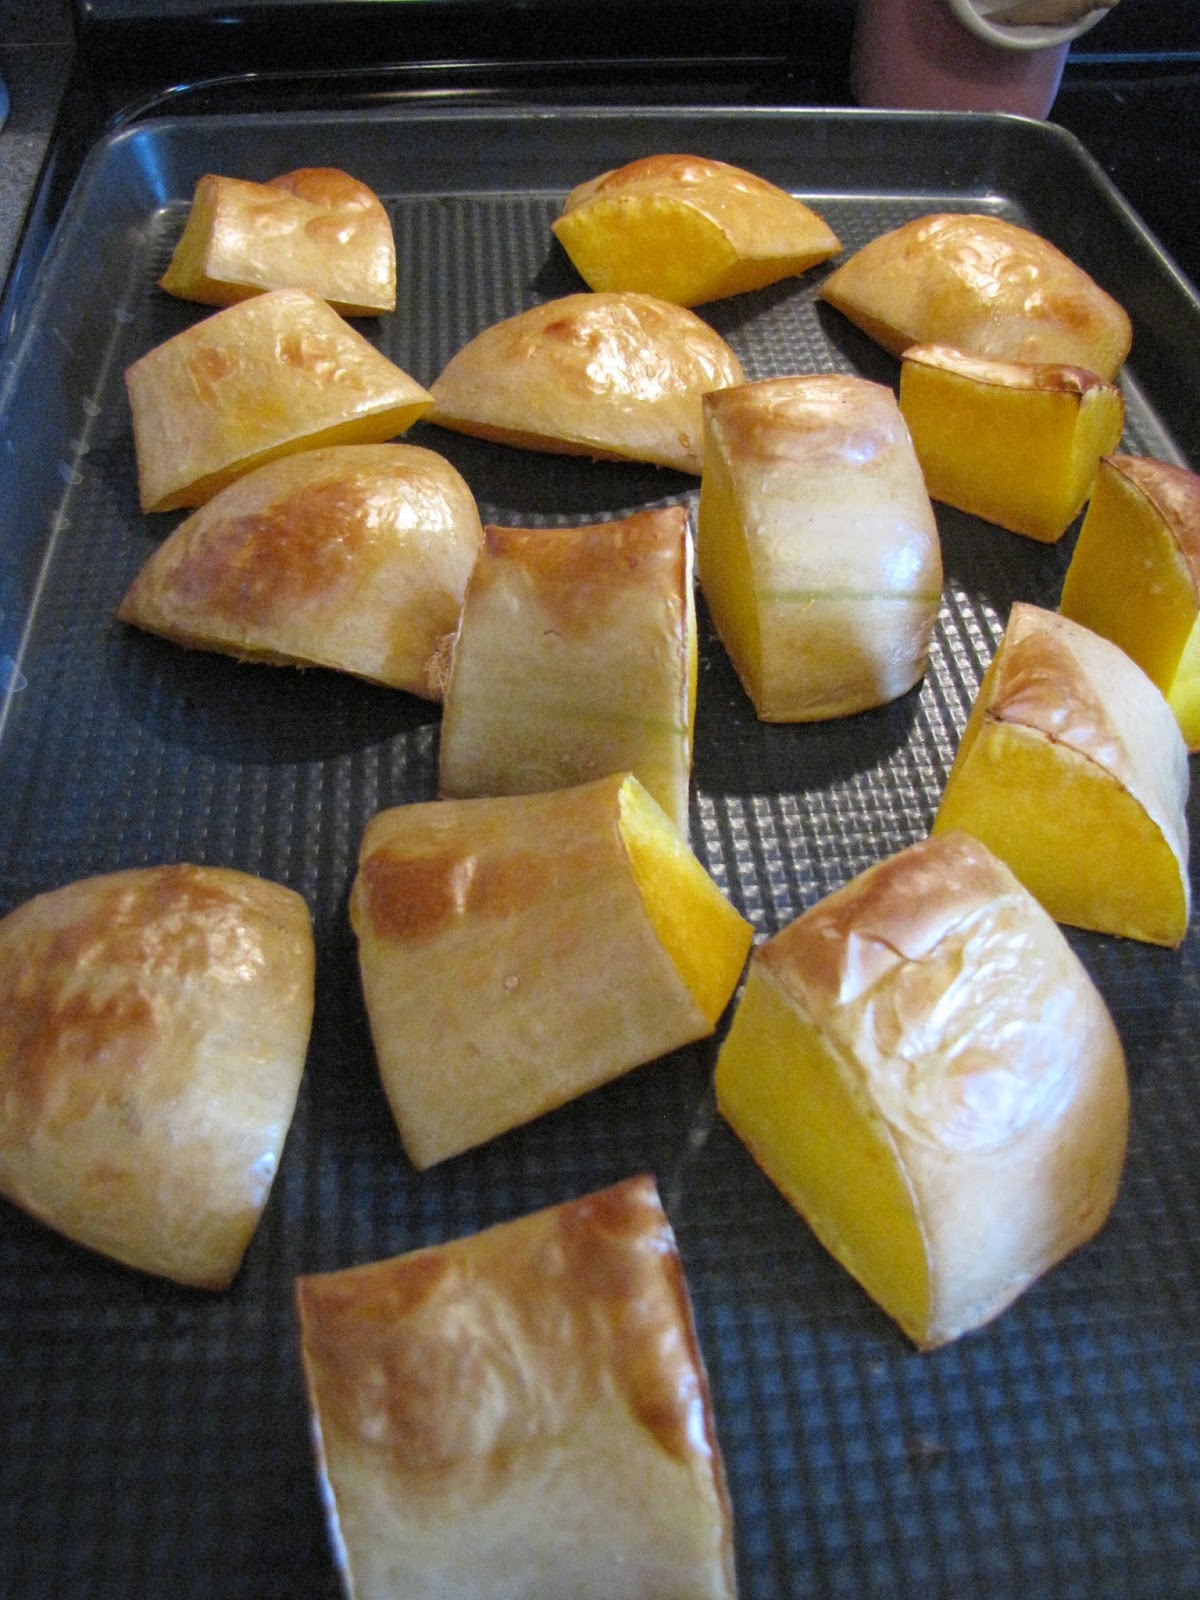
Cut the squash into halves or quarters and place cut side down on a baking dish. Roast in a 400 oven until tender, about 1 hour. Scoop out the flesh and cut into cubes. Drizzle hazelnut oil over the warm cubes.
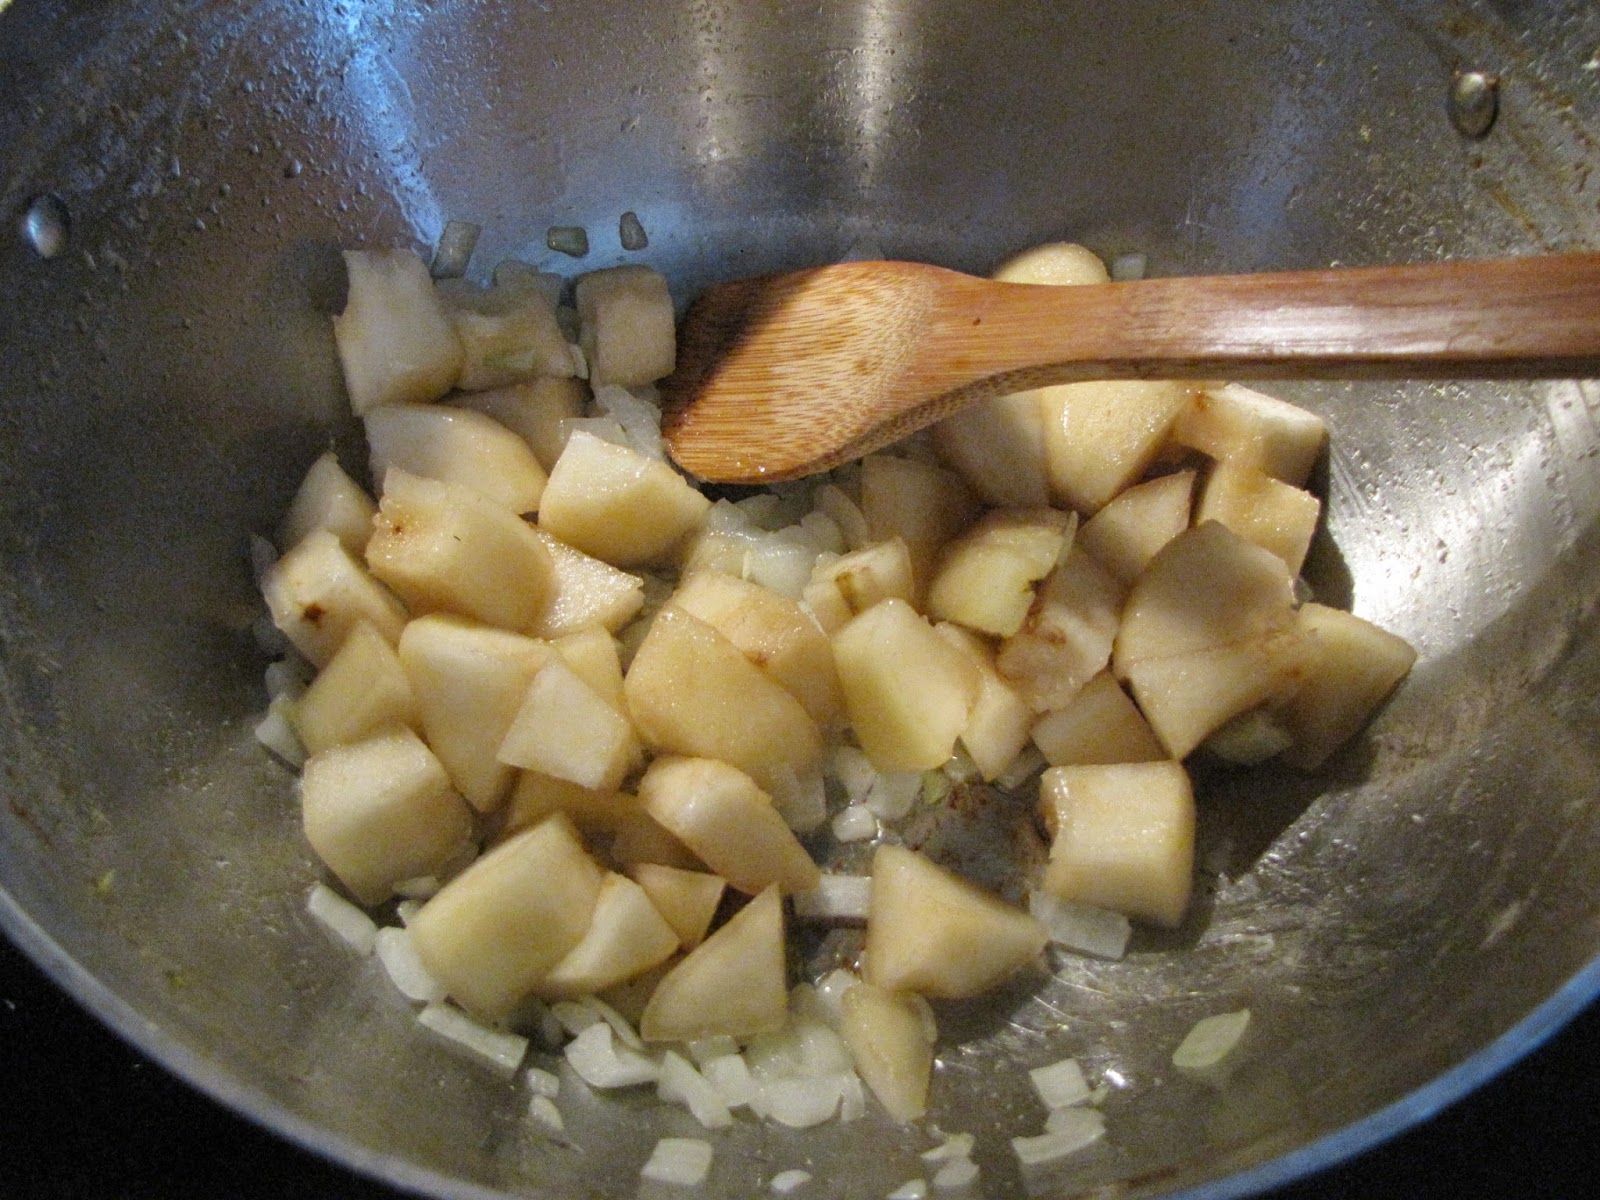
Heat the neutral flavored oil in a large saucepan. Saute the onion for 5 minutes over medium heat, you just want to soften them, not brown them. Add the pears, squash, stock, wine, bouquet garni, and seasonings and simmer for 20 minutes.
Add the sage leaves in during the last 5 minutes of cooking. Remove the bouquet garni and puree the soup with the weapon of your choice. A immersion or stick blender works great, but a food processor or half filled blender works too. You want it completely smooth and creamy texture.
In a blender or mini chopper, combine the crème fraîche and Roquefort until smooth.
Serve soup in warmed bowls, with a scoop of the Roquefort creme in the center, sprinkle chopped hazelnuts over the soup and garnish with homemade croutons.
Croutons Recipe
1 loaf french or italian crusty bread
1 stick unsalted butter, melted
1/4 cup extra virgin olive oil
2 tablespoons minced fresh parsley
salt and pepper to taste
Preheat oven to 375. cut bread into 1/2 inch size cubes. Toss bread with butter, parsley and seasonings in a large bowl. spread in a even layer on a baking sheet and bake until golden brown and crisp. you may need to toss them around a little during baking so keep an eye on them. My hubby wont eat the soup but he will get down on some croutons!